What precautions are necessary for machining thin-walled stainless steel?
What precautions are necessary for machining thin-walled stainless steel?
Thin-walled stainless steel requires low cutting force, rigid local support, staged stock removal, controlled heat, clean chip evacuation, and free-state inspection after unclamping. These precautions are needed because stainless steel can work-harden while the wall has little stiffness to resist tool pressure, clamping load, or thermal movement. The machining plan should define wall thickness, unsupported height, datum scheme, grade, stock condition, finishing allowance, and inspection state before toolpaths are released.
1. Advanced Tooling Strategies for Minimizing Forces
Tooling for thin stainless walls should reduce radial pressure while still cutting under the work-hardened layer.
Tool Selection: Use sharp CNC Milling tools with positive cutting geometry, stable runout control, and edge preparation suited to the stainless grade. A dull or overly strong edge pushes the wall before it cuts, which causes taper, chatter marks, and spring-back after the part is released.
Tool Geometry: Select flute count, core diameter, helix, corner radius, and reach according to wall height and chip space. Lower radial engagement and adequate chip clearance help avoid re-cutting, heat buildup, and side pressure. A smaller corner radius can reduce pressure, but sealing edges or fatigue-loaded corners may need a specified radius.
Tool Material: Micro-grain carbide is often preferred for rigidity and wear resistance in austenitic and precipitation-hardening stainless grades. Diamond-coated tools should not be assumed for ferrous stainless steels because chemical wear can occur at high cutting temperature; use them only when the material, coating, speed, and coolant plan have been verified.
2. Optimized Cutting Parameters and Dynamic Strategies
Thin-wall parameters should keep chip load stable and limit the force applied to any unsupported wall section.
Climb Milling vs. Conventional: In a rigid CNC setup, climb milling often reduces rubbing because the chip starts thicker and exits thinner. It is not automatic for every feature; backlash, wall support, tool engagement, and finishing direction still matter. The selected method should leave the final force direction pushing into support, not pulling the wall free.
High-Speed Machining (HSM) Techniques: Dynamic milling with low radial engagement, controlled axial depth, and steady chip load can reduce peak force on a thin wall. High spindle speed alone is not the goal. The process must keep feed, engagement angle, tool stick-out, coolant delivery, and machine rigidity inside a stable window.
Trochoidal Milling: Trochoidal paths can help slotting and pocketing by preventing full-width engagement. Lower engagement reduces heat and side load, but entry moves, corners, and toolpath transitions still need review. Sudden direction changes near a thin wall can leave witness marks or push the wall out of tolerance.
3. Rigorous Workholding and Part Support
Thin-walled stainless parts need support close to the cut because fixture error can become final dimensional error.
Custom Fixturing: Standard vises may support the datum but leave the wall free to vibrate. Soft jaws, nests, support blocks, pins, or sacrificial support should contact nonfunctional areas and support the wall behind the cut. Fixture contact must not damage cosmetic, sealing, or corrosion-critical surfaces.
Sequential Machining: Leave stock, ribs, or tabs during roughing so the part keeps stiffness until late operations. Finish opposite sides in a controlled sequence, then remove supports only after critical surfaces are semi-finished. For very thin walls, roughing and finishing may need a rest period or measurement after unclamping.
Low-Stress Clamping: Clamp force should hold the part without bending it into a false shape. Broad pads, torque limits, matched soft jaws, or vacuum/fixture support can reduce local dents and elastic distortion. The drawing or RFQ should state whether dimensions are accepted in fixture or in free state.
4. Aggressive Thermal and Chip Management
Thermal control matters because a thin stainless wall can move from local heat even when the toolpath looks stable.
Coolant Strategy: Direct coolant to the cutting edge and chip exit so heat leaves with the chip instead of entering the wall. Flood coolant, through-tool coolant, air blast, or mist should be chosen by feature access and corrosion-cleanliness requirements. Uneven heating can shift size during cutting and then change again after cooling.
Chip Evacuation: Remove chips before they pack against thin walls, small pockets, or blind slots. Recut chips can scratch the surface, increase cutting load, and trap heat. Chip-control checks are especially important for SUS304 and SUS316, where gummy chips can weld to the tool or mark the part.
5. Process Design and Multi-Axis Advantage
Process design should aim cutting force into the strongest available support and reserve final finishing for a stable part condition.
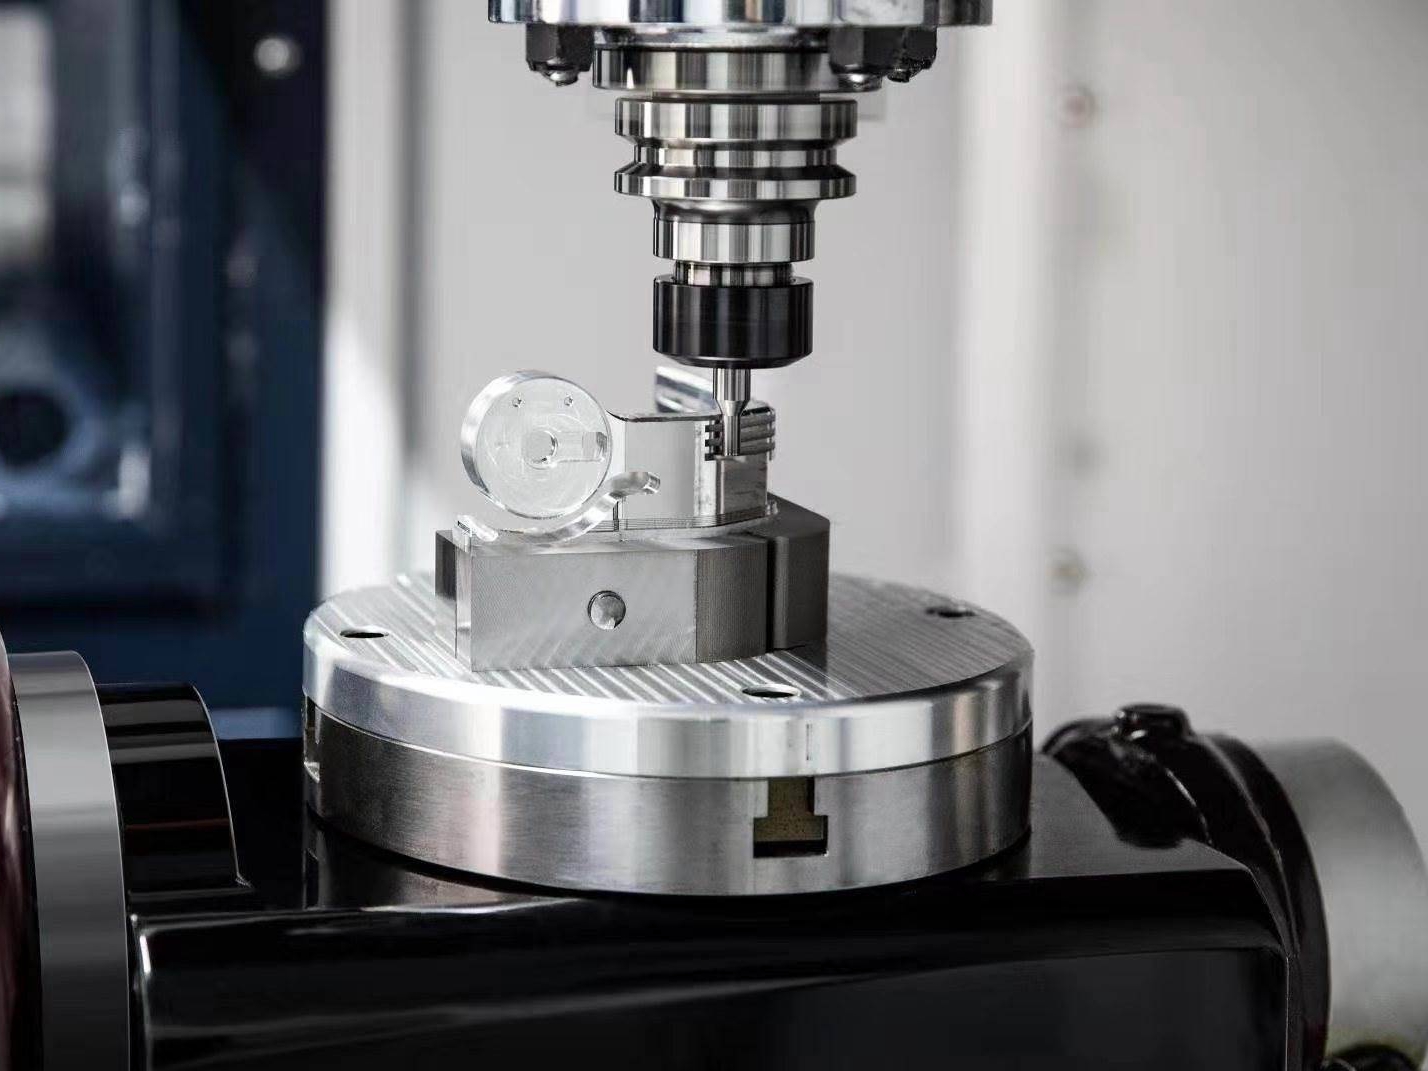
Multi-Axis Machining: Use Multi-Axis Machining when tilting the tool or part improves reach, shortens tool stick-out, or directs force into the fixture. The advantage is not the number of axes alone; it is better engagement control, fewer weak setups, and less tool pressure perpendicular to the wall.
Symmetrical Machining: Alternate roughing and finishing on opposite sides when geometry allows. Balanced removal can reduce curling caused by uneven residual stress release. The sequence should preserve datums until critical dimensions are finished and inspected.
Stress Relief: For parts cut from rolled, forged, or heavily cold-worked stock, stress-relief before finish machining may reduce movement. The heat-treatment decision must match the stainless grade, required mechanical properties, corrosion requirement, and dimensional tolerance because some alloys change hardness or size after thermal processing.
Conclusion: An Integrated Precision Approach
Machining thin-walled stainless steel is a controlled process chain, not a single cutting trick. The practical checklist is tool sharpness, stable chip load, local wall support, balanced stock removal, heat control, clean chips, and free-state measurement. For Precision Machining Service RFQs involving Aerospace or Medical Device parts, include wall thickness, unsupported height, datums, material condition, burr limits, surface finish, inspection method, and whether the final dimensions apply after unclamping.