How to balance lightweight requirements with thermal performance in lighting?
Lightweight requirements and thermal performance in lighting are balanced by reducing thermal resistance per unit mass, not by simply making the heatsink smaller. The practical route is to calculate heat load, set junction-temperature targets, choose materials by conductivity-to-weight ratio, optimize fin geometry, control the LED-board interface, and validate the design under real ambient and mounting conditions. A buyer should specify weight target, power, ambient temperature, airflow condition, lifetime goal, and allowable housing temperature before approving a lightweight thermal design.
The Core Conflict and Design Philosophy
The conflict is straightforward: more metal often improves heat spreading, but more metal also increases product weight, cost, and packaging volume. A heavy heatsink can solve one thermal problem while failing the weight target. The better design philosophy moves from massive heat sinking to efficient heat spreading and dissipation. The design should send heat from the LED junction through the board, interface layer, base, fins, and air path with as little resistance as possible. The key metric is not only total thermal resistance. It is thermal resistance, stiffness, manufacturability, and cost at the required weight.
Strategic Material Selection
Material choice is the first major trade-off. The best material is not always the highest-conductivity material, because density, strength, corrosion behavior, machinability, finish, and price also matter.
High-Conductivity Aluminum Alloys: Alloys like Aluminum 6061 are widely used because they balance conductivity, weight, machinability, and anodizing compatibility. A stronger alloy such as Aluminum 7075 may allow thinner structural walls, but its thermal conductivity is usually lower than 6061. The buyer should compare the full assembly result, not only the material data sheet value.
Composite and Advanced Materials: Metal matrix composites, graphite inserts, vapor chambers, or local copper spreaders may help where heat is concentrated near a small LED module. These materials can improve local heat spreading, but they add cost and joining complexity. They are most useful when weight-critical systems, such as Aerospace and Aviation lighting, cannot meet temperature targets with standard aluminum geometry.
Geometric and Structural Optimization
Geometry often creates more mass reduction than material substitution. The design should remove low-value mass while protecting the main heat path, mounting stiffness, sealing surfaces, and manufacturability.
Topology Optimization: Analysis can identify areas with low structural load or low thermal contribution. Material can then be removed while keeping the heat path and mounting features. Some optimized shapes are suitable for CNC Machining, while complex prototype shapes may be explored with 3D Printing. The final production method should be reviewed early because a shape that looks efficient in simulation may be costly to machine or inspect.
Thin-Wall Design with Stiffening Features: Thin walls, ribs, gussets, and local bosses can keep stiffness while reducing bulk mass. The risk is that thin fins or housings may warp, vibrate, or lose flat contact with the LED board. Critical mounting pads and thermal interfaces should have flatness and surface finish requirements.
Hollow and Conformal Cooling Channels: Internal air or liquid channels can reduce the size of a passive fin stack. This option requires pressure-drop analysis, leak risk review, cleaning access, corrosion control, and manufacturability checks. It is usually justified only when power density is high enough to offset added complexity.
Integrating the Lighting Assembly
Weight can also be reduced by combining functions. The housing, bracket, optical support, seal groove, wire-routing feature, and heatsink can sometimes be designed as one thermal structure. Integration works only if heat flow, assembly access, and serviceability are reviewed together.
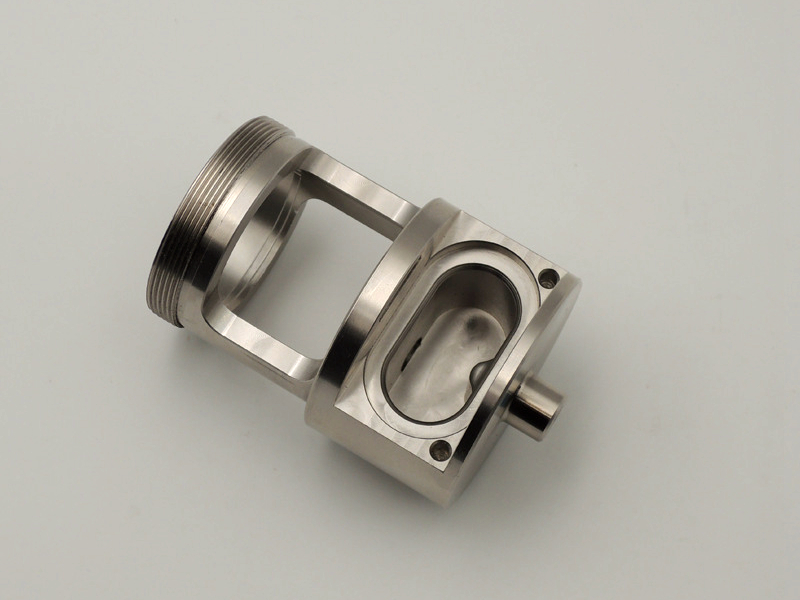
Unibody Chassis-as-Heatsink: The luminaire housing can act as the main heatsink when the LED board has stable contact and the exterior surface has enough area for convection and radiation. This requires careful Precision Machining of mounting faces, seal grooves, board pads, and datum features. Poor flatness at the LED interface can erase the benefit of a lightweight housing.
Strategic Material Pairing (Hybrid Designs): A local Copper CNC Machining spreader can move heat away from the LED module before a larger aluminum body dissipates it. This pairing can reduce mass compared with a full copper heatsink. The RFQ should define joining method, galvanic compatibility, flatness, TIM thickness, and whether the copper insert changes assembly height.
Surface Treatment for Enhanced Efficiency
Surface condition can influence radiative heat transfer, corrosion behavior, and outdoor durability. It should be selected after the main conduction and convection path is already sound.
Anodizing: CNC Aluminum Anodizing can improve corrosion resistance and, when dark or black, raise surface emissivity. This may help radiative cooling, especially where airflow is limited. The drawing should protect grounding areas, LED-board contact faces, and threaded features from unwanted coating build-up.
High-Emissivity Coatings: Specialized paints or CNC Powder Coating finishes can increase emissivity and protect the housing. The coating should be checked for thickness, adhesion, UV stability, color, masking, and whether it insulates a surface that should transfer heat by direct contact.
Validation Through Prototyping and Testing
A lightweight thermal design remains a prediction until tested. The validation plan should connect simulation, prototype measurement, and production checks:
Create a CNC Machining Prototyping unit of the optimized design with the same interface flatness, surface finish, and mounting features planned for production.
Test at rated power, worst-case ambient temperature, intended orientation, and realistic airflow restriction. Measure LED case temperature, board temperature, driver temperature, housing temperature, and time to steady state.
Use measured data to adjust CFD or FEA assumptions. Changes may include fin spacing, wall thickness, base thickness, TIM, airflow path, coating, or board pressure.
For high-volume production, transition the validated design to a suitable process such as Rapid Molding for covers or casting, extrusion, forging, or machining for the metal heatsink body.
This balanced approach helps an Automotive headlight, aerospace cabin light, portable work light, or industrial luminaire meet both weight and temperature targets. The safest procurement decision is to request a thermal budget, weight budget, prototype test report, and production inspection plan instead of approving a lightweight design only from CAD mass and fin appearance.