How Should Thin Walls and Edges Be Protected During Precision Machining?
How Should Thin Walls and Edges Be Protected During Precision Machining?
Thin walls and edges should be protected by matching stock, support, tool access, clamping, cutting sequence, deburring, and inspection to the bracket's functional geometry. A wall can deflect under clamp or cutting force, while an edge can lose material during deburring or coating. The buyer should define the wall, base, holes, radii, edge breaks, and delivered surface that matter, then require the supplier to state the support and reaction plan. A quiet cut or attractive finish is not proof that the relationship is correct.
Map the Flexible Features
Identify wall height, thickness, unsupported length, pockets, openings, corners, slots, and edges near a clamp. State which surfaces locate the bracket and which are cosmetic. A long upright section may spring after unclamping; a thin lip may distort when a tool exits. Record the risk beside the operation and the measurement that catches it. Do not assign a universal thickness limit without the drawing, material, support, and cutting state.
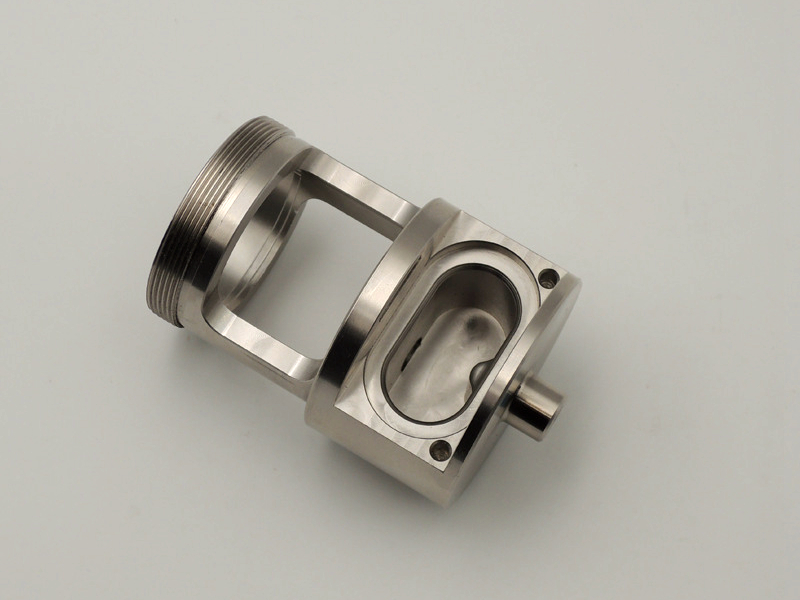
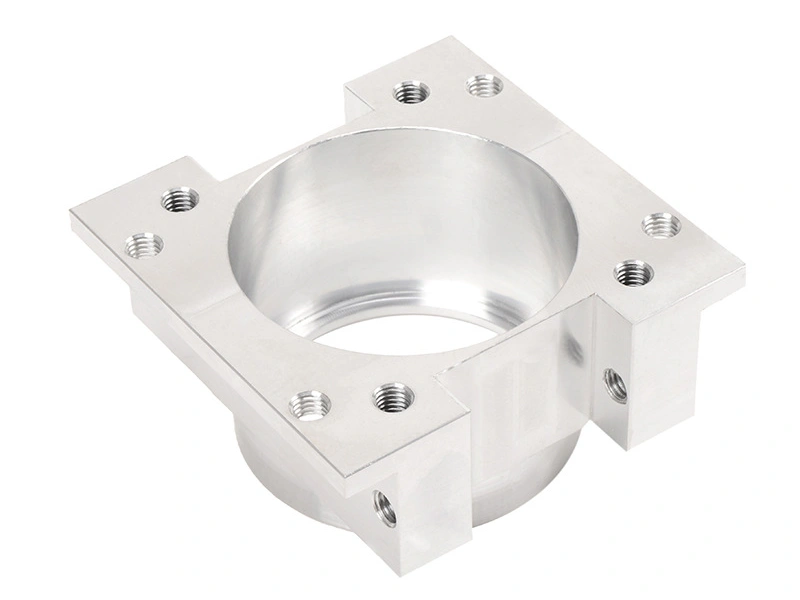
The paired images show a bent bracket with a long base, upright wall, and visible openings from two angles. They support only geometry and viewpoint. They do not prove thickness, alloy, tolerance, load, or application. Use the controlled drawing and process record for those decisions.
Support Without Hiding the Datum
Choose supports that carry cutting and clamp loads while preserving the functional datum. Record contact points, clamp direction, support height, pads, stops, and sequence. A convenient clamp may bend the wall or mask the surface that must be measured. Chips or burrs under a pad can change the frame. Clean and inspect contacts before loading and note the condition.
If a temporary support or shim is used, identify its location, material, approval, and affected units. A photograph is helpful for orientation but cannot prove contact or force. The setup record should explain what is essential and what is temporary. After unclamping, compare a sensitive feature where springback is plausible.
Plan Tool Reach and Exit
Review holder clearance, tool projection, corner radius, wall engagement, chip evacuation, and tool exit direction. Long reach can increase chatter and leave a damaged edge; a sharp internal corner may require a radius that changes the model. State the intended radius or relief in the drawing rather than allowing a hidden tool limitation to become the part geometry.
Sequence roughing and finishing so thin areas retain support until critical relationships are established. Leave controlled stock when a final pass must protect a base-to-wall angle or hole position. A reversal requires a transfer check on the finished datum. Record tool, offset, coolant, and support state for any feature whose edge or wall is sensitive.
Control Cutting and Thermal State
Cutting force, heat, coolant delivery, and stock stress can move flexible features. State the material and condition, tool geometry, projection, support, and stabilization or rest time. Do not use a machine's resolution or a quiet spindle sound as product evidence. Measure a representative feature after unclamping and after cleaning when the delivered state can differ.
If distortion appears, preserve the original result and identify the affected units. Review stock, support, clamp force, tool wear, sequence, and thermal state. A later rework pass may consume edge allowance or change a hole relationship. Record the original and new result rather than reporting only the final value.
Define Deburring and Edge Breaks
Write edge requirements as functional or cosmetic criteria. A lead-in may protect assembly, while an edge on a locating face may need a smaller break. Specify method, accessible edges, burr direction, radius or visual reference, and inspection condition. Manual deburring can remove material unevenly and can turn a burr problem into a size or fit problem.
Inspect edges before and after cleaning, coating, or assembly when those operations affect the decision. A visual check can identify a nick or burr but cannot prove a hole position or material state. Keep edge observations linked to unit identity and disposition. If a part is reworked, preserve the first observation and record who approved the action.
Inspect Walls and Edges in the Right State
Measure wall-to-base angle, flatness, profile, hole position, thickness, and edge condition with methods suited to the requirement. State datum frame, support, clamping or relaxed state, instrument, temperature, cleaning, and unit. A CMM plane can quantify an angle in its frame; a functional assembly can reveal combined interference. Neither proves an unmeasured edge radius or material hardness.
When the wall is flexible, compare a constrained and relaxed condition if the assembly depends on both. Record repeat readings near limits and avoid rounding away variation. If a probe cannot reach a recess, state the boundary and alternate evidence. Missing access should remain an open release item, not a silent assumption.
Set Reactions Before Damage Occurs
Define reactions for a bent wall, chatter mark, torn edge, burr, broken corner, mixed unit, or inaccessible feature. The action may be containment, expanded inspection, controlled deburring, replacement, deviation, or a new trial. Name the owner, repeated measurements, and affected range. If the range cannot be bounded, hold the lot or expand inspection rather than guessing.
Put Protection Requirements in the RFQ
Provide drawing and model revisions, wall and edge requirements, datum scheme, material condition, stock, workholding limits, tool-access constraints, deburring, inspection, packaging, and change authority. Ask suppliers to state support, clamp sequence, tool projection, edge method, first-piece checks, and failure reactions. A machine list or generic thin-wall claim is not enough for a precision bracket.
Release Only the Supported State
Release when wall support, edge condition, datum relationships, inspection state, unit identity, and delivered packaging agree. Hold when a flexible feature was measured only under clamp, a temporary shim is undocumented, or deburring changed a locating edge. The next buyer action is to approve the support and edge acceptance method before authorizing the lot.